Physical Address
304 North Cardinal St.
Dorchester Center, MA 02124
Physical Address
304 North Cardinal St.
Dorchester Center, MA 02124

Explore practical guides and tools for Microsoft 365, Azure, and PowerShell. Enhance your cloud security and admin skills with expert insights and automation tips.
Explore practical guides and tools for Microsoft 365, Azure, and PowerShell. Enhance your cloud security and admin skills with expert insights and automation tips.
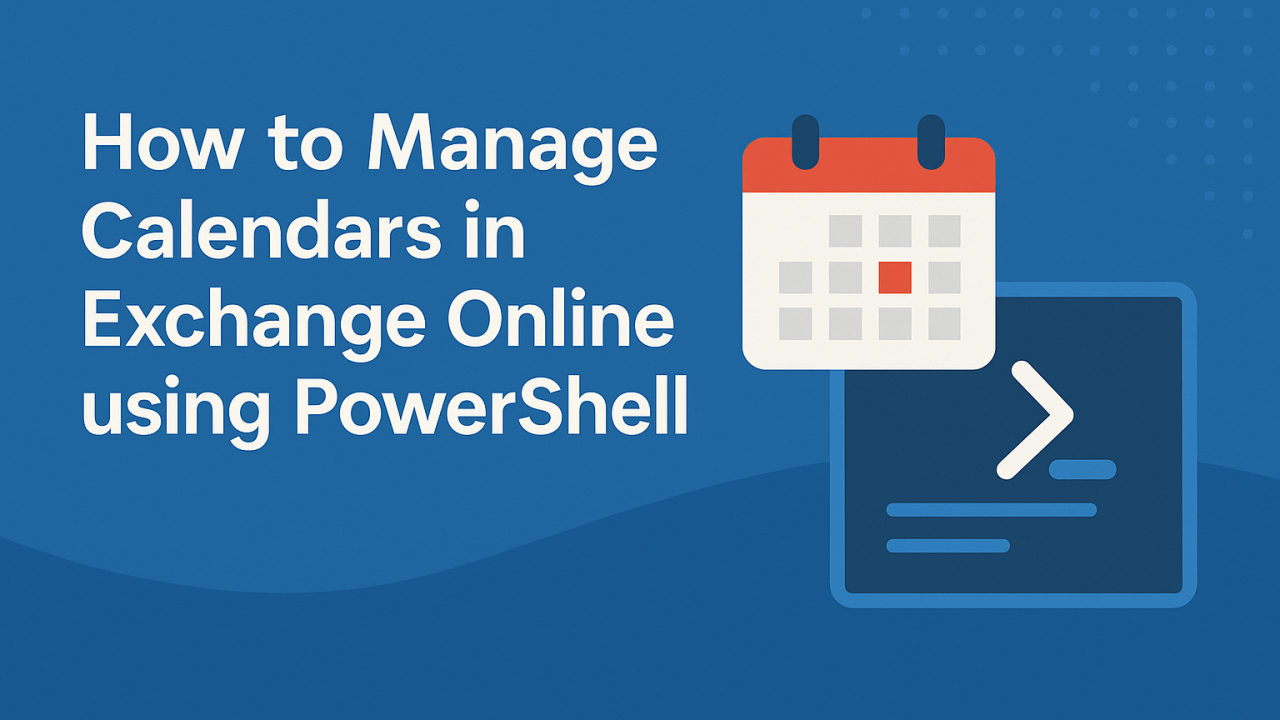

Managing calendars in Exchange Online can be a complex task, especially since certain calendar management functions are not available through the GUI of the Admin Center. However, with the power of PowerShell, these tasks become much more manageable and efficient.
This guide aims to provide IT administrators and professionals with the necessary tools and commands to streamline calendar management. Whether you’re looking to automate tasks, troubleshoot issues, or enhance productivity, this guide will walk you through the essential steps and best practices to achieve your goals.
You need to execute everytime “Get-MailboxFolderStatistics” command to know calendar folder name, because it change with mailbox language.
# Get mailbox folders to get calender folder name
(Get-MailboxFolderStatistics "user@domain.com" -FolderScope Calendar).IdentityInstall the necessary module for Exchange Online :
Install-Module ExchangeOnlineManagement –ForceTo connect to exchange online you need to execute this :
# Import ExchangeOnlineManagement module
Import-Module ExchangeOnlineManagement

Connect-ToExchangeOnline
You can use this optimized function to check if module is installed or not, import module then connect to Exchange online, I recommend using this function.
function Connect-ToExchangeOnline
{
    # Check if the module is installed
    if (!(Get-Module -ListAvailable -Name ExchangeOnlineManagement))
    {
        Write-Host "The ExchangeOnlineManagement module is not installed. Installation in progress..." -ForegroundColor Yellow
        Install-Module -Name ExchangeOnlineManagement -Force -AllowClobber
    }
    # Import ExchangeOnlineManagement module
    Import-Module ExchangeOnlineManagement

    # Connect to Exchange online
    Connect-ExchangeOnline
}

Connect-ToExchangeOnline
you should see this windows after executing the behavior function.

this command is used the calendar folder name, because sometime it depends on language of the mailbox (it can be : “Calendrier” , “Calendar” …etc) so we need the name of this calender folder.
# Get mailbox folders to get calender folder name
(Get-MailboxFolderStatistics "user@domain.com" -FolderScope Calendar).Identity
We need to see the existing permissions on the calendar before proceeding to any other step, which is why this step is important, because if we want to add accesses for a user when this user already has an access, the command will display an error.
Get-MailboxFolderPermission "aymen@globalitnow.com:\Calendar"As you can see here, we have default permission access for availibility only with no more details.

Before adding permissions, let’s Understanding Outlook Calendar Permissions :
When managing calendar and Outlook folder permissions, you can use the following predefined permissions levels :
In order to grant user2 the permission to view and edit user1 calendar items, use the following command :
Add-MailboxFolderPermission -Identity user1@domain.com:\calendar -user user2@domain.com -AccessRights EditorIn order to grant user2 the permission to view user1 calendar items, use the following command :
Add-MailboxFolderPermission -Identity user1@domain.com:\calendar -user user2@domain.com -AccessRights ReviewerAdd-MailboxFolderPermission -Identity "aymen@globalitnow.com" -user "t.collins@globalitnow.com" -AccessRights Reviewer
if we check Aymen calendar permission again, we can see that taylor have Reviewer right :

we set a calendar permission only if the user already has an existing permission that we’re going to modify.
Set-MailboxFolderPermission -Identity "aymen@globalitnow.com:\Calendar" -user t.collins@globalitnow.com -AccessRights Editor
in this example we gonna remove Tailor editor permission to restore the first status permission of Aymen calendar.
Remove-MailboxFolderPermission -Identity "aymen@globalitnow.com:\Calendar" -user "t.collins@globalitnow.com"
Thanks