Reduce Risk in Microsoft 365 : Auto-Purge Scan-to-Email and Service Mailboxes with Purview Retention Policies

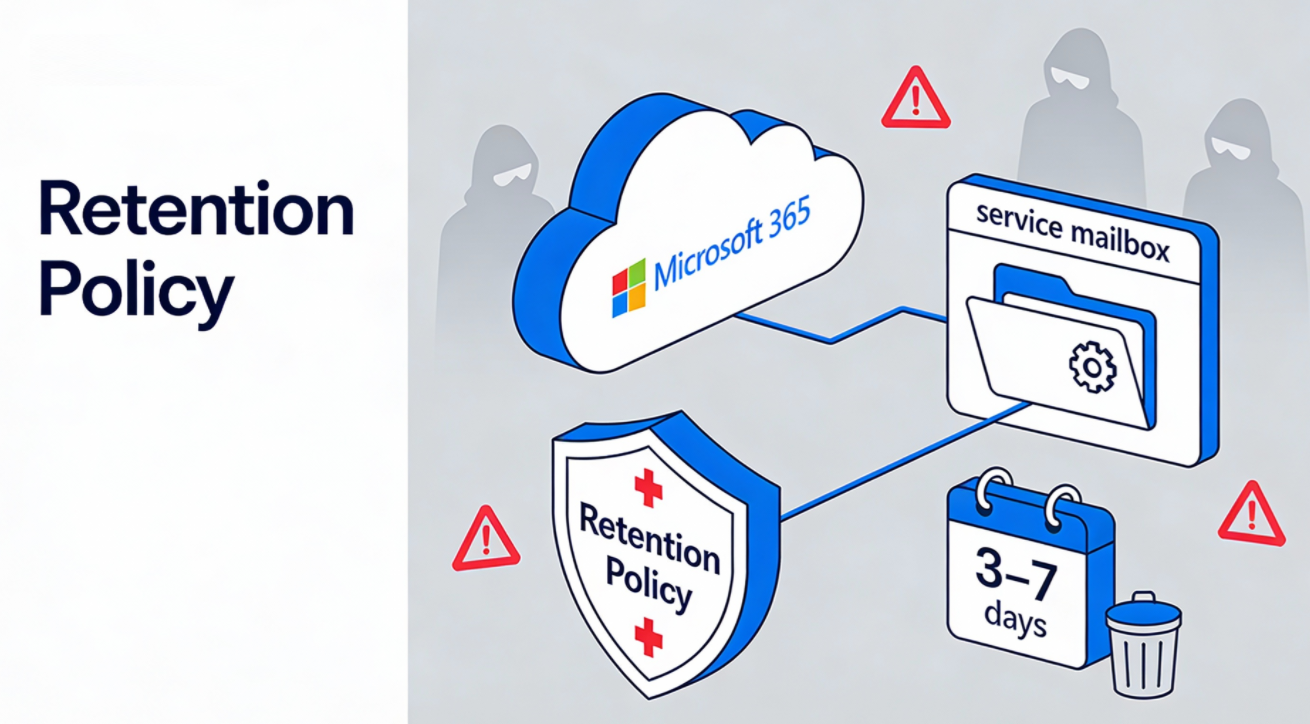
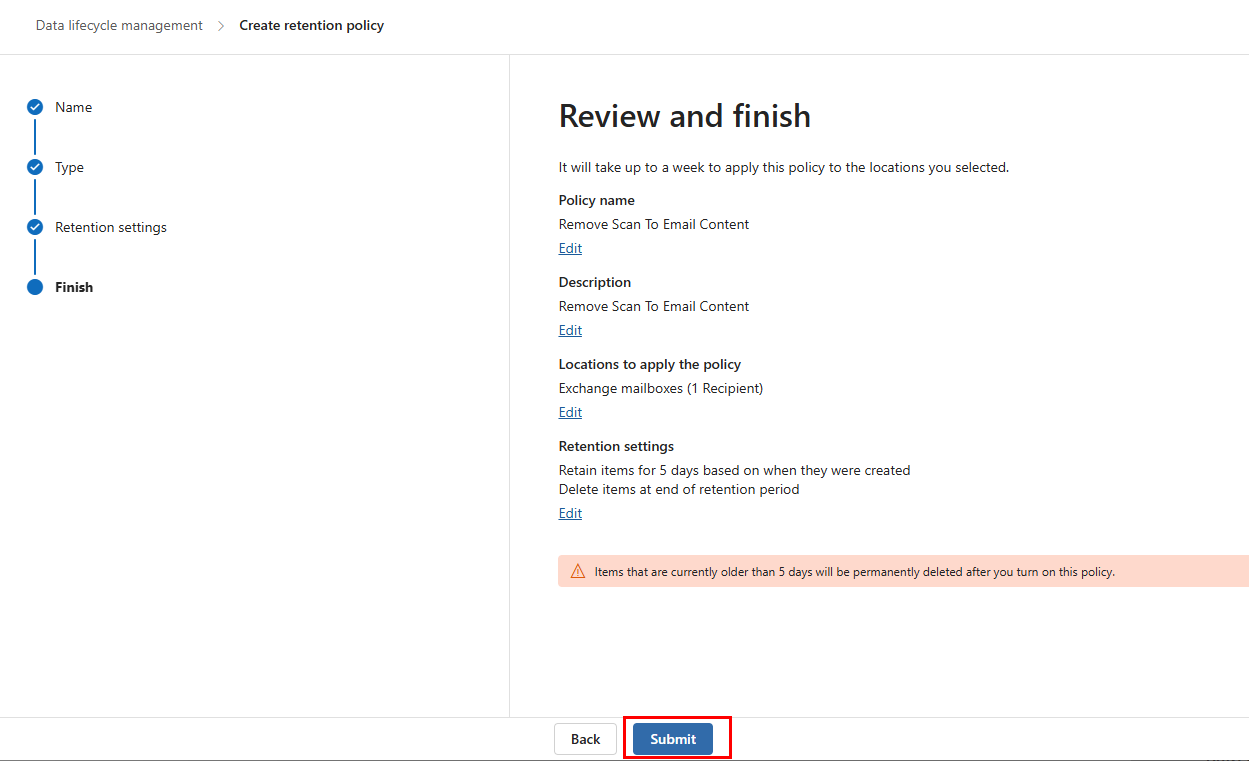
Service or “scan-to-email” mailboxes are convenient for automation, but they also concentrate sensitive telemetry (reports, alerts, stats) in a single inbox that attackers love to target. A Microsoft Purview retention policy can enforce an automatic, short “delete-after-X-days” window (for example 3 or 7 days) to reduce data exposure while keeping operations intact.

Why these mailboxes are high-risk

Automation mailboxes (scan-to-email devices, SMTP relay accounts, and OAuth2-based third‑party senders) often receive recurring reports that may include usernames, device names, internal URLs, attachment contents, or other operational details.
Because they are non-human “utility” accounts, they’re frequently over-permissioned, poorly monitored, or excluded from normal user hygiene processes, making them a common entry point and data-exfil target.

Retention policy strategy (3–7 days)

In Purview Data Lifecycle Management, retention policies are designed to “retain what you need and delete what you dont” and deleting low-business-value content reduces risk and attack surface.
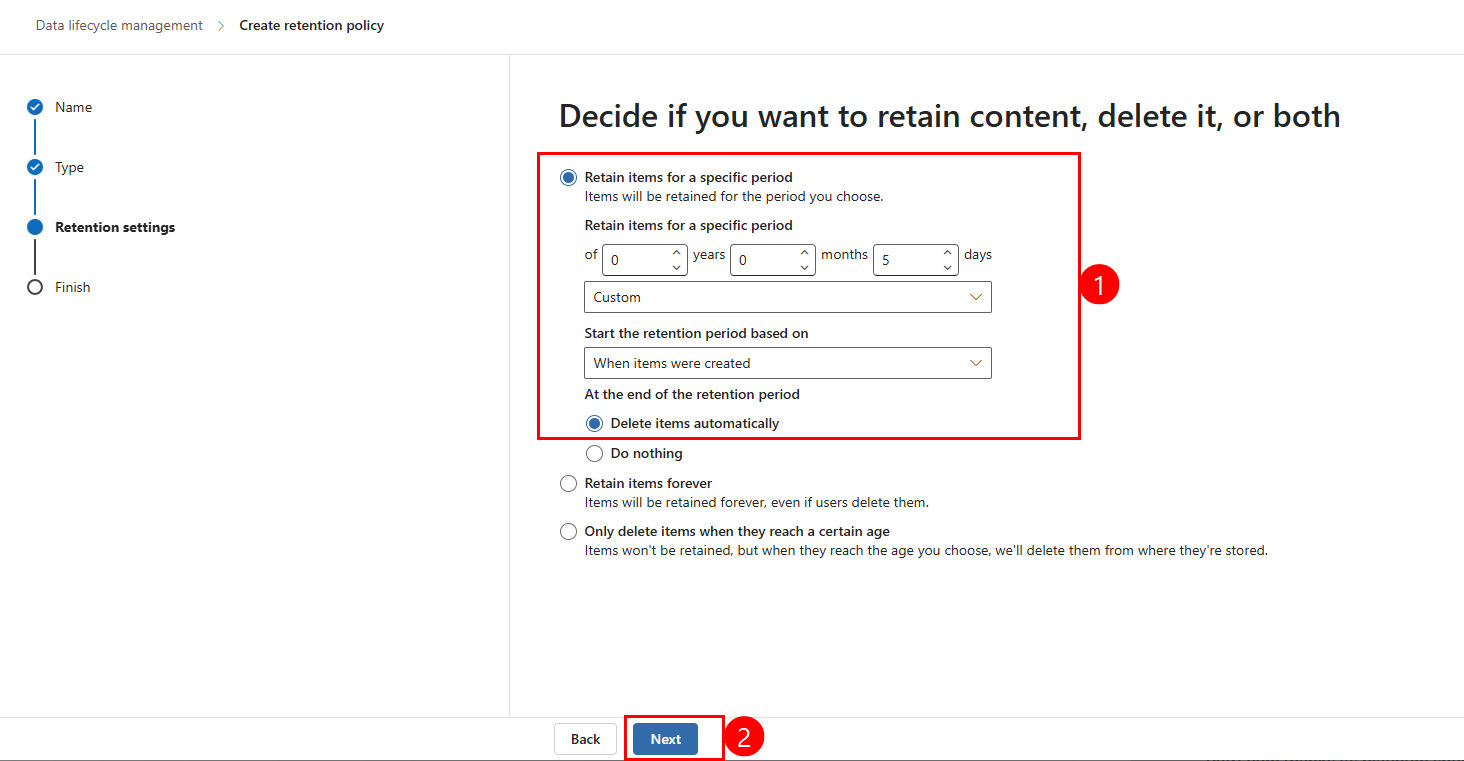
For this use case, the usual approach is a delete-only retention policy that permanently deletes mailbox items once they reach a defined age (e.g., 3 or 7 days).​
Be aware that Purview retention follows “retention wins over deletion” principles, so any longer retention (another policy, a label, or holds) can prevent short-window deletion from taking effect.

Step-by-step (Purview portal)

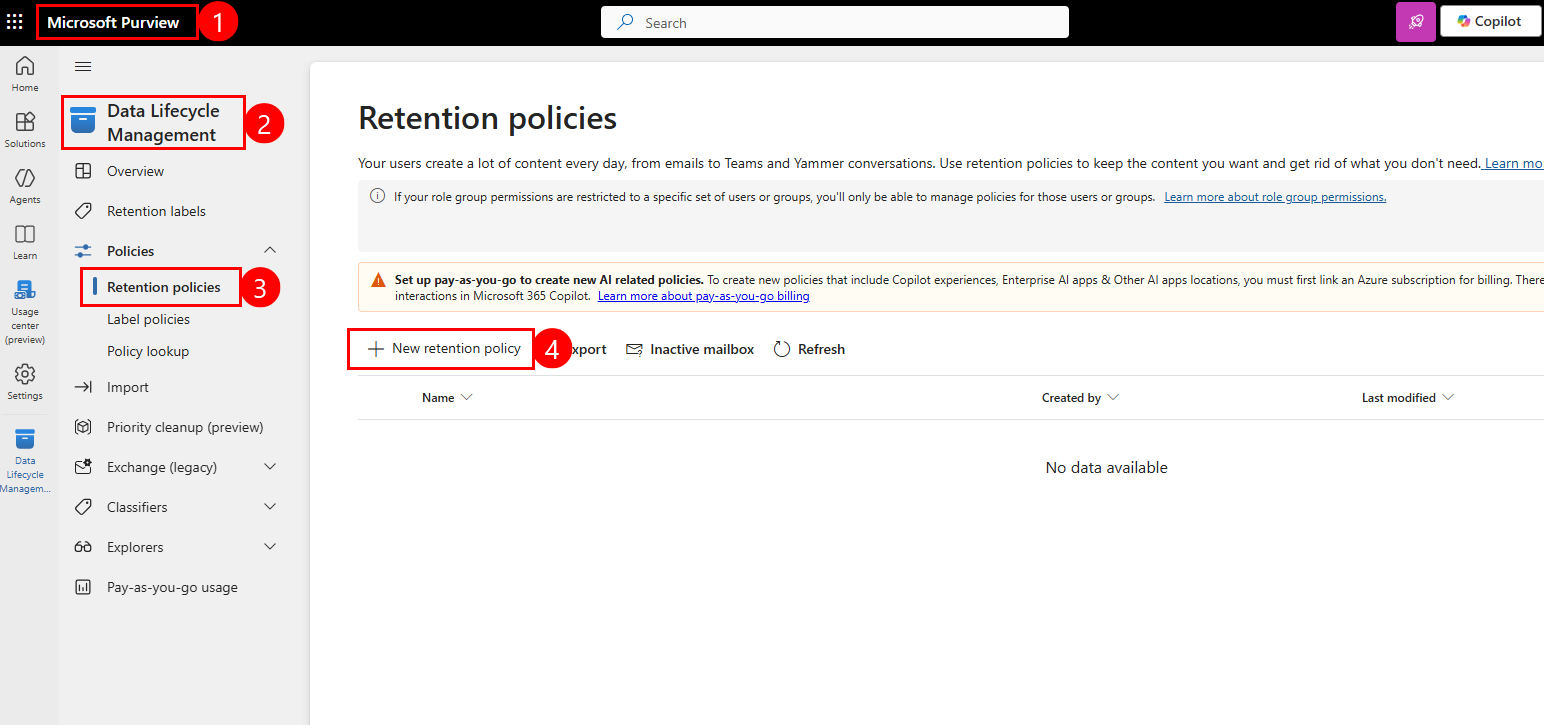
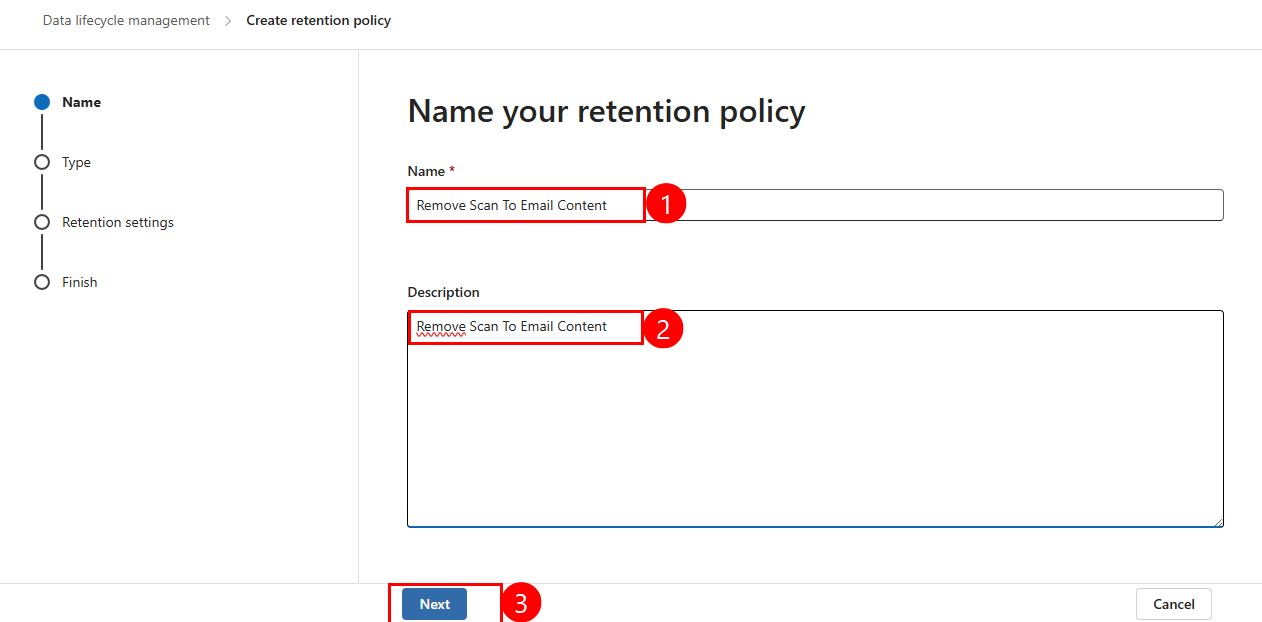
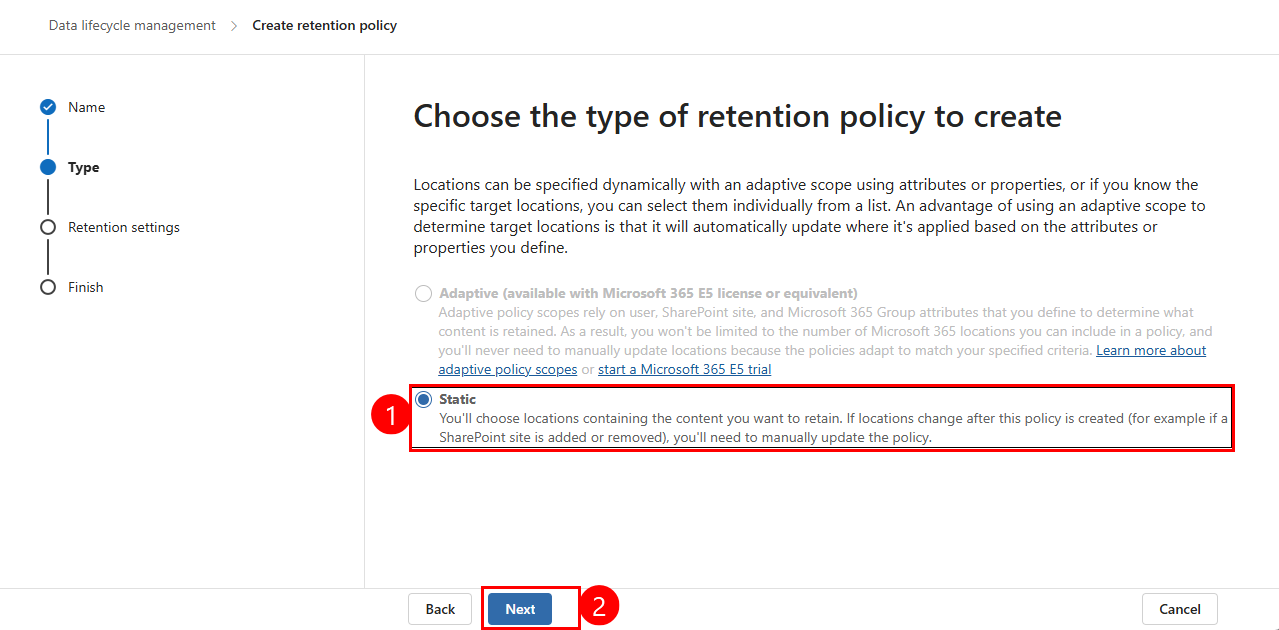
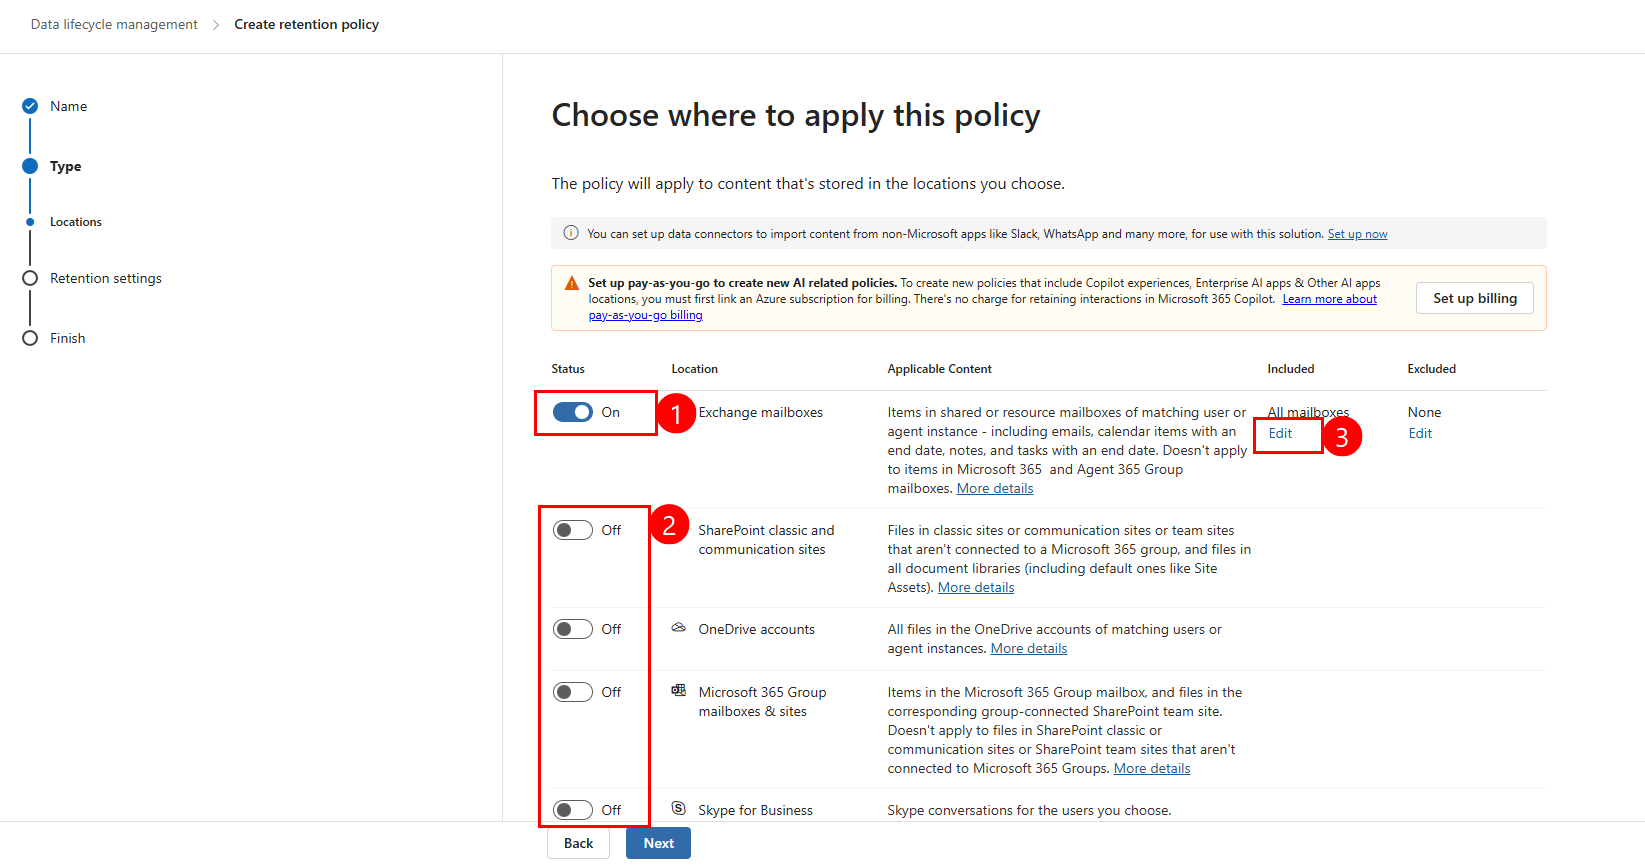
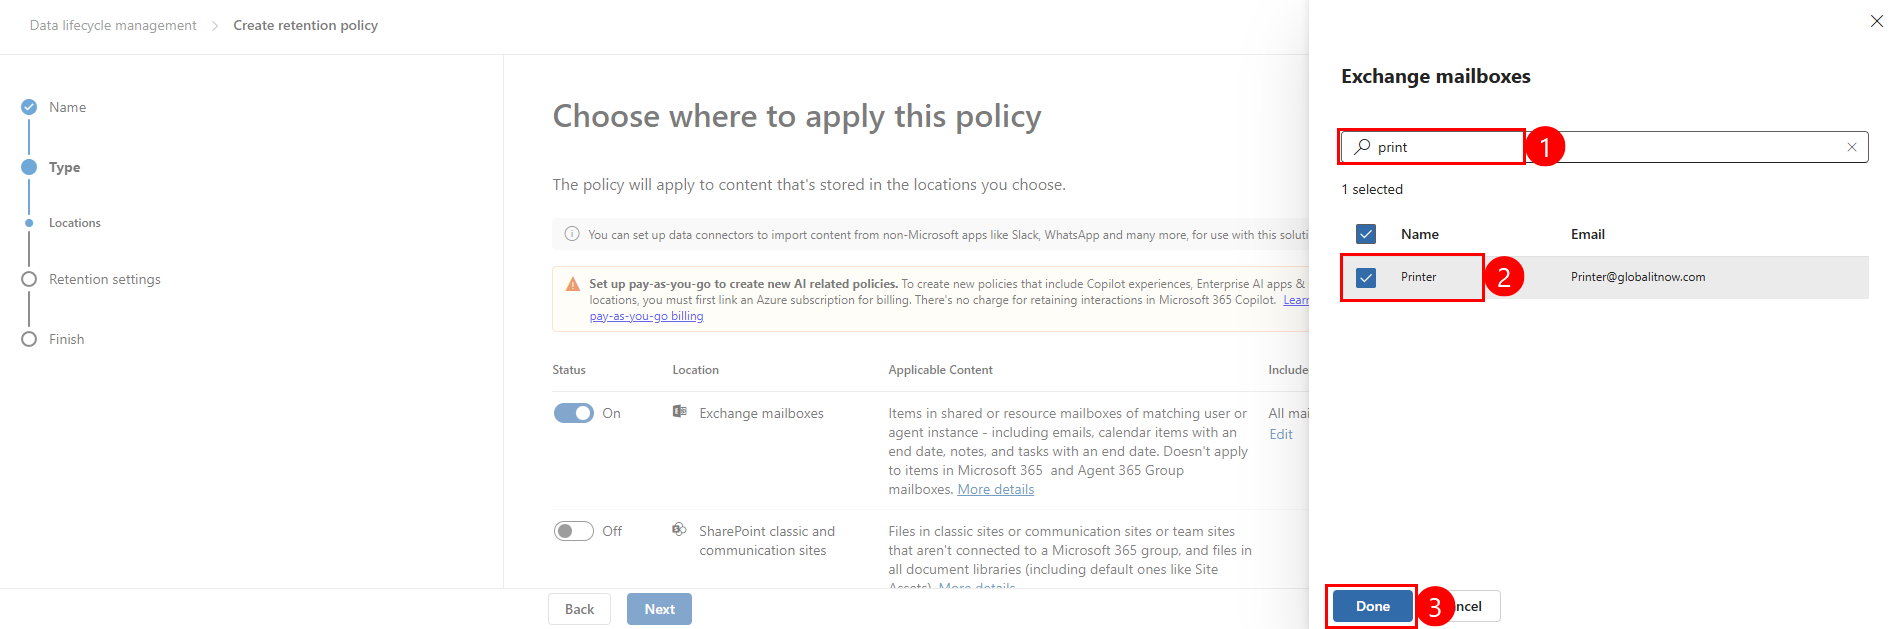
Based on the Purview navigation shown in your screenshot, create a retention policy from the Data Lifecycle Management area:

  • Open Microsoft Purview → Data Lifecycle Management.
  • Go to Policies → Retention policies.
  • Select New retention policy.
  • Give a Name and Description to the Policy
  • Choose retention Policy type (Static in this case)
  • Click Next
  • Turn On the Exchange mailboxes location so the retention policy applies to mailbox data.
  • Leave the other locations Off (SharePoint sites, OneDrive accounts, Microsoft 365 Groups, etc.) ​
  • Click Edit under Included (it shows All mailboxes by default) to scope the policy switch to including/excluding specific mailboxes (recommended for service/shared mailboxes).
  • Add your “Service mailbox” then click Done.
  • Click Next
  • Under Decide if you want to retain content, delete it, or both, select Retain items for a specific period.
  • Set the retention duration (example shown: 5 days — 0 years, 0 months, 5 days).
  • Under Start the retention period based on, choose When items were created (typical for mailboxes).
  • Under At the end of the retention period, select Delete items automatically (this makes it “retain for X days, then delete”).
  • Click Next to continue.
  • Click “Submit” to finish policy creation.

Operational notes (what admins forget)

  • Static scoping with “include specific recipients” is convenient, but if you remove the last included mailbox, the configuration can revert to “All” for that location, so always validate scope before saving changes.​
  • Also note that Exchange mailboxes need at least 10 MB of data before retention settings apply, which can affect testing in brand-new mailboxes.​

Thanks.

Aymen EL JAZIRI (Microsoft MVP)

Hi, I’m Aymen El Jaziri , a passionate System Administrator and Microsoft MVP, with years of hands-on experience in managing and securing modern IT infrastructures.
This blog is where I share technical guides, automation scripts, product reviews, and real-world solutions that help IT professionals simplify their day-to-day work and stay ahead in a fast-evolving cloud ecosystem.
Whether you’re here to troubleshoot an issue, improve your automation game, or learn new best practices , welcome in my blog !
Let’s build a stronger, smarter IT community together.
Feel free to connect with me on LinkedIn for more content, discussions, or collaboration opportunities.

Thanks

Aymen

Articles: 154