Physical Address
304 North Cardinal St.
Dorchester Center, MA 02124
Physical Address
304 North Cardinal St.
Dorchester Center, MA 02124

Explore practical guides and tools for Microsoft 365, Azure, and PowerShell. Enhance your cloud security and admin skills with expert insights and automation tips.
Explore practical guides and tools for Microsoft 365, Azure, and PowerShell. Enhance your cloud security and admin skills with expert insights and automation tips.
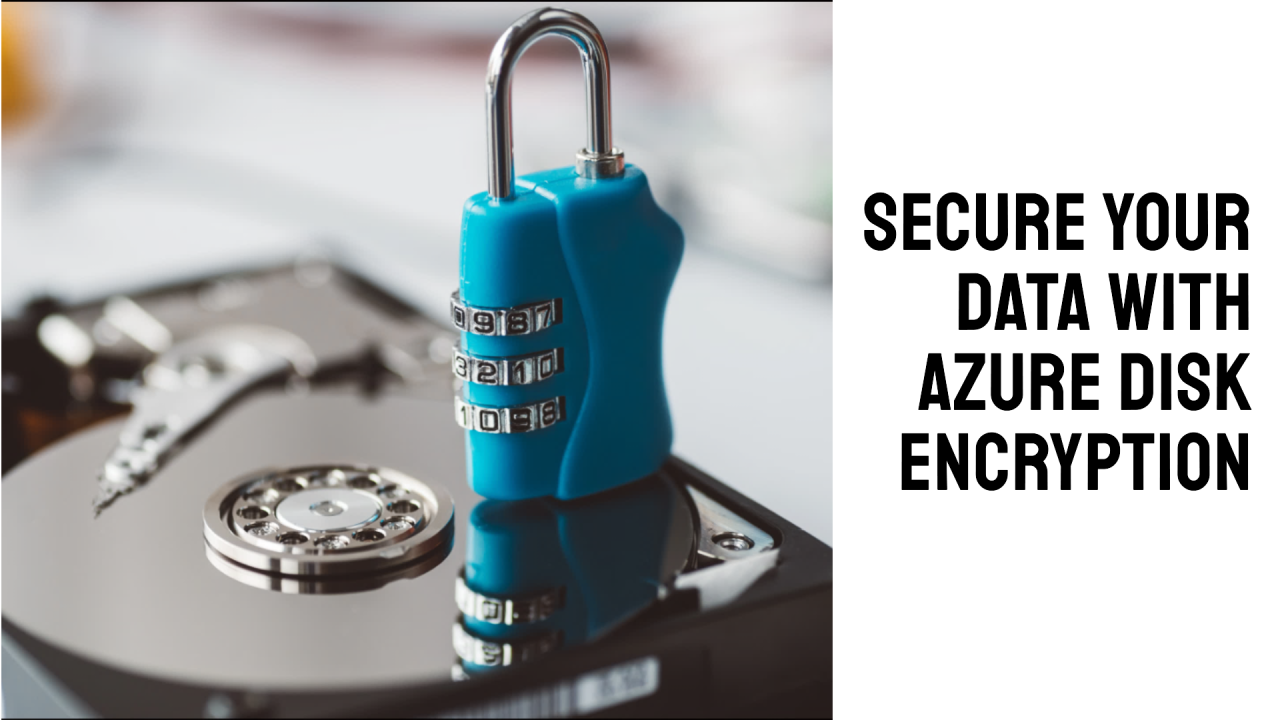

Azure Disk Encryption is a service that helps you protect and preserve your data to meet your company’s security and compliance commitments.
Here are some key points about Azure Disk Encryption:
There are also other types of encryption available for your managed disks, including server-side encryption (SSE) and host-level encryption². Each type of encryption has its own characteristics, advantages and limitations.
Here are the steps to follow to Enable Azure Disk Encryption :

For all this, we must access to azure portal then create and configure a key safe for Azure Disk Encryption.
Here is the steps to follow :

Select “Create” to start Key vaults Creation


after the key vaults have been successfully created, start Azure CLI in PowerShell mode :

then type the following command to enable encryption :
az vm encryption enable -g '<ResourceGroupName>' --name '<VM_Name>' --disk-encryption-keyvault '<Key_Vault_Name>'This is my Command line after changing some parameters :
az vm encryption enable -g TESTRG1 --name VM1 --disk-encryption-keyvault GITNKV2
The command line will take couple of minutes to be executed depending of your disk capacity without loosing RDP connection and no need to reboot your machine.
As you can see in the picture below, both of two disks are encrypted :

Thanks