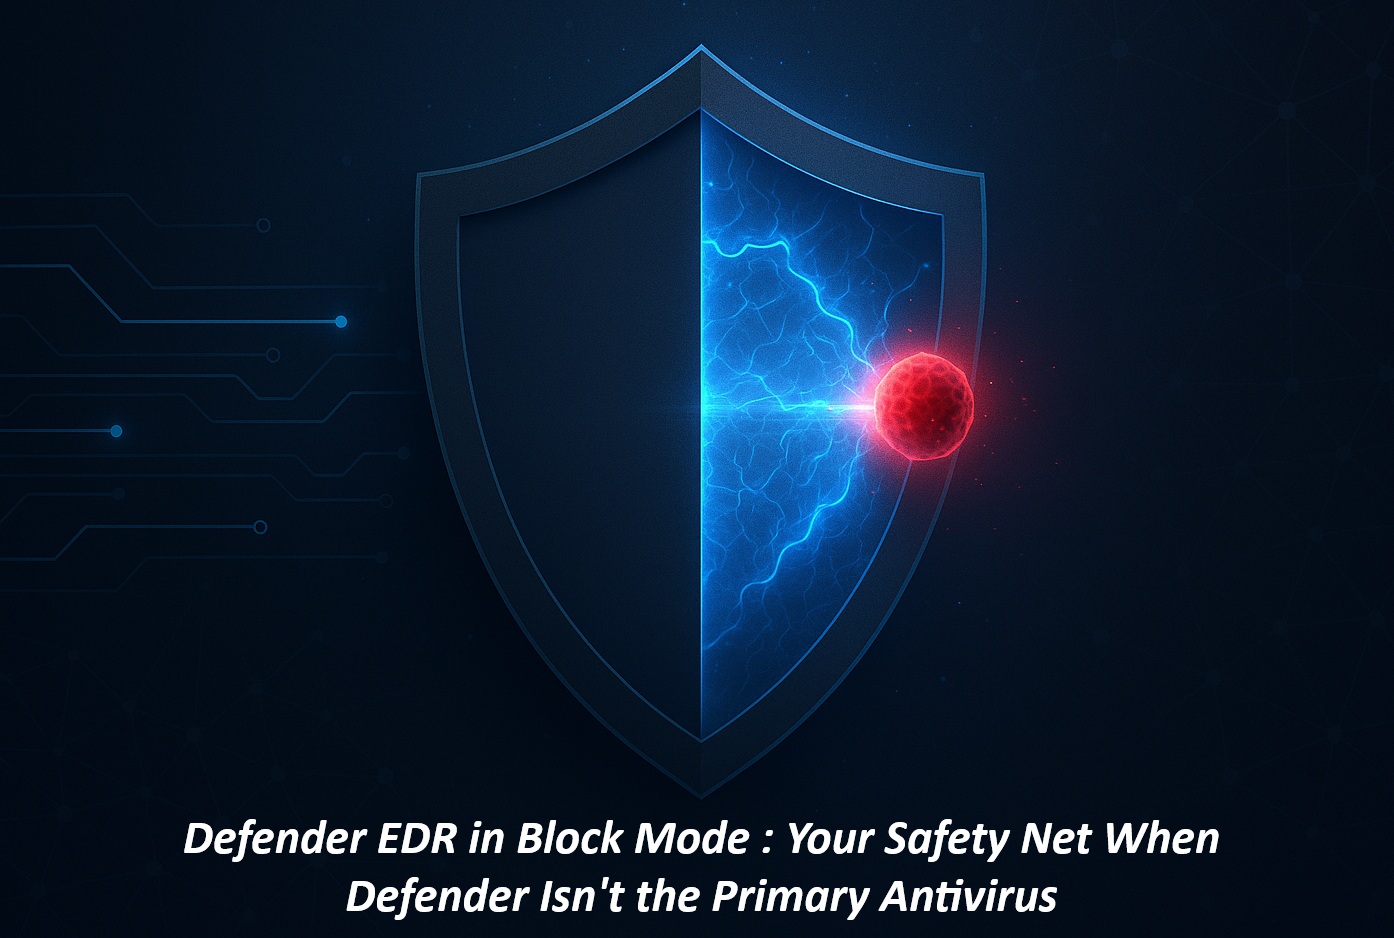
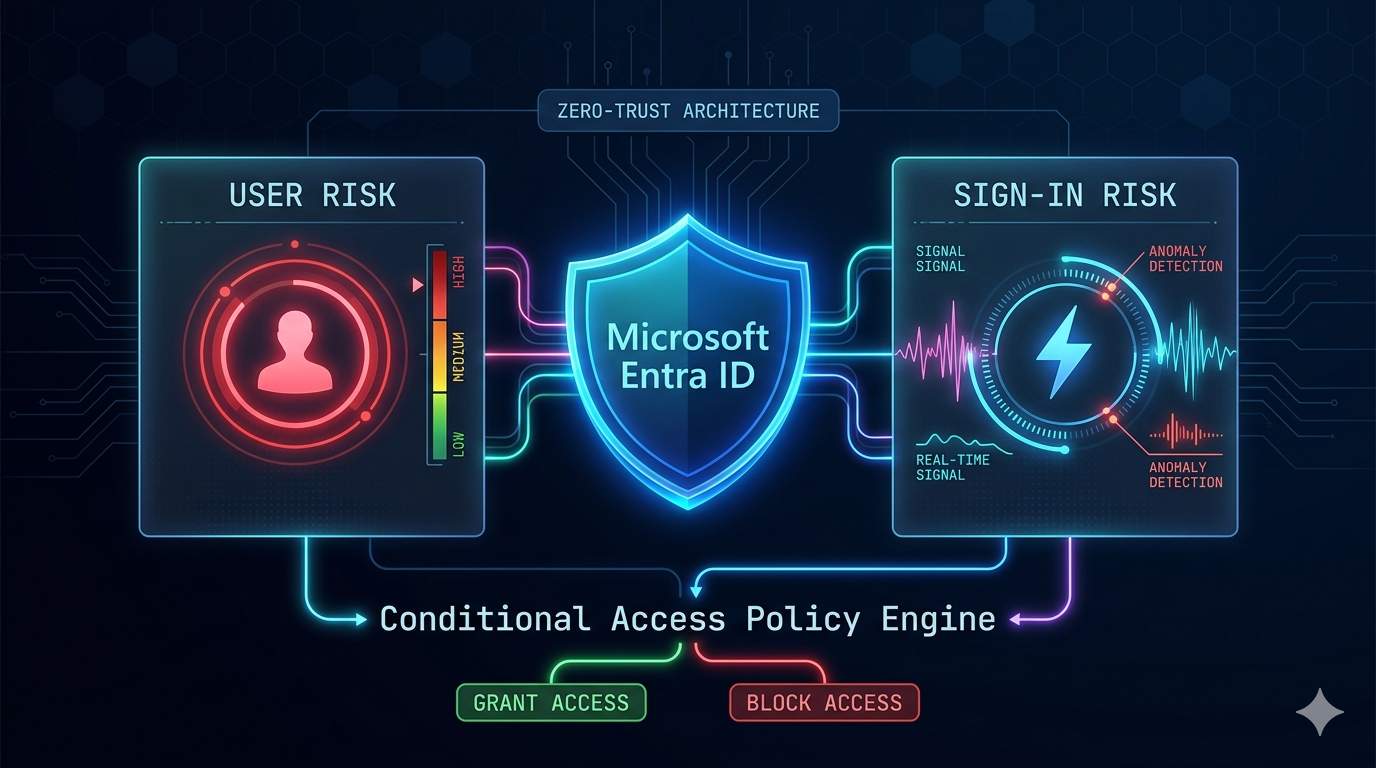
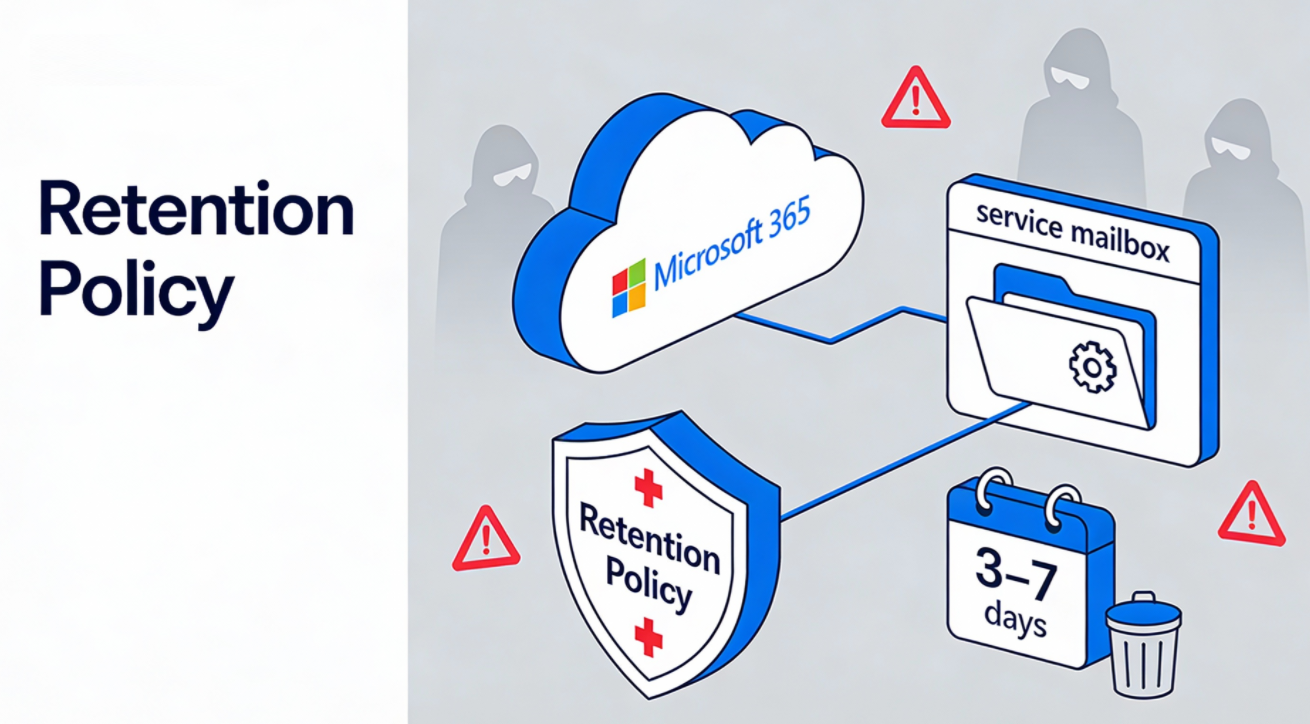
Explore practical guides and tools for Microsoft 365, Azure, and PowerShell. Enhance your cloud security and admin skills with expert insights and automation tips.
Renewing an SSL certificate on a Windows IIS server is a crucial task to maintain secure communications between the server and its clients. This process involves generating a new Certificate Signing Request (CSR), submitting it to a trusted Certificate Authority (CA) for validation, and then installing the renewed certificate on the server.
Properly configuring the SSL settings ensures that the renewed certificate is effectively utilized, thereby safeguarding sensitive data and maintaining the integrity of secure connections.
we’ll explain all those steps in this documentation.
Let’s get started.
1 – Create Certificate Signing Request (CSR) from IIS Server :
Requesting a certificate from an IIS server involves generating a Certificate Signing Request (CSR) through the IIS Manager. This process includes providing essential information about your organization and the domain for which the certificate is needed. The CSR is then submitted to a Certificate Authority (CA) for validation and issuance of the SSL certificate. This ensures secure, encrypted communications between the server and its clients, protecting sensitive data and maintaining the integrity of your web services.
Open the Internet Information Services (IIS) Manager from the Start button select Programs > Administrative Tools > Internet Information Services Manager.
In the IIS Manager, select the main server node on the top left under Connections and double-click the Server Certificates.
From the Actions pane on the top right, select Create Certificate Request.
In the Request Certificate wizard, on the Distinguished Name Properties page, provide the following information and then click Next.
Common name: The fully-qualified domain name (FQDN) (e.g., www.example.com or *example.com for wildcard certs).
Select Microsoft RSA SChannel and 2048 and then click Next.
Click Finish to complete the certificate request (CSR) Wizard.
Using a simple text editor such as Notepad (do not use Word), open the CSR file you just created at c:\certs\csr.txt (your path and filename may be different). You will need to copy-and-paste the contents of this file, including the top and bottom lines, into the relevant box during the online order process.
2 – Use CSR Certificate to generate new Certificate authority file :
Log into your DNS account (GoDaddy, EnTrust, or whoever your SSL reseller is) and submit a renewal request by pasting your new CSR, this process require you to buy a credit for an SSL cert before you actually submit the CSR and this process can be confusing, so don’t hesitate to contact your SSL seller
Once the certificate authority (CA) has received your renewal request, it will conduct a verification process
Once the process is over, the CA will issue the new (renewed) SSL certificate to you.
3 – Complete Certifcate request with new Certificate authority file :
Completing a certificate request with a new Certificate Authority (CA) file involves finalizing the process of obtaining an SSL certificate. After generating a Certificate Signing Request (CSR) and submitting it to the CA, you receive a certificate file. This file must be installed on your server to complete the request. The process ensures that the server can establish secure, encrypted connections with clients, protecting sensitive data and maintaining the integrity of communications.
On the server name Home page (center pane), in the IISsection, double-click Server Certificates.
On the Server Certificates page (center pane), in the Actions menu (right pane), click the Complete Certificate Request.
In the Complete Certificate Request wizard, on the Specify Certificate Authority Responsef page, do the following :
File name containing the Click the … box and browse to and select the .cer file (e.g., your_domain_com.cer) that DigiCert sent to you.
Friendly name : Type a friendly name for the certificate. The friendly name is not part of the certificate;instead, it is used to identify the certificate.We recommend that you add DigiCert and the expiration date to the end of your friendly name, for example: yoursite-digicert-(expiration date).This information helps identify the issuer and expiration date for each certificate. It also helps distinguish multiple certificates with the same domain name.
Select a certificate store In the drop-down list, select Web Hosting for the new certificate.
Click OK
Now that you’ve successfully installed your SSL certificate, you need to assign the certificate to the appropriate site.
In the Connections menu tree (left pane), expand the name of the server on which the certificate was installed, then expand Sites and click the site you want to use the SSL certificate to secure.
On the website Home page, in the Actions menu (right pane), under Edit Site, click the Bindings… link.
In the Site Bindings window, select binding for https and then click Edit.
In the Edit Site Binding window, in the SSL certificate drop-down list, select your newly installed SSL Certificate by its friendly name and then, click OK.
From the right hand menu bar on IIS server, select Restart to apply new SSL certificate :
4 – Test Your Installation
If your website is publicly accessible, you can type address in the browser and check if your website is secured with lock and https.
You can use also DigiCert® SSL Installation Diagnostics Tool to verify that the installation is correct. On the DigiCert®SSL Installation Diagnostics Tool page, enter the DNS name of the site (e.g., www.yourdomain.com) that you are securing to test your SSL certificate.
Thanks
Aymen EL JAZIRI (Microsoft MVP)
Hi, I’m Aymen El Jaziri , a passionate System Administrator and Microsoft MVP, with years of hands-on experience in managing and securing modern IT infrastructures.
This blog is where I share technical guides, automation scripts, product reviews, and real-world solutions that help IT professionals simplify their day-to-day work and stay ahead in a fast-evolving cloud ecosystem.
Whether you’re here to troubleshoot an issue, improve your automation game, or learn new best practices , welcome in my blog !
Let’s build a stronger, smarter IT community together.
Feel free to connect with me on LinkedIn for more content, discussions, or collaboration opportunities.