Microsoft PIM : Secure your Privileged Identities

I – Introduction :

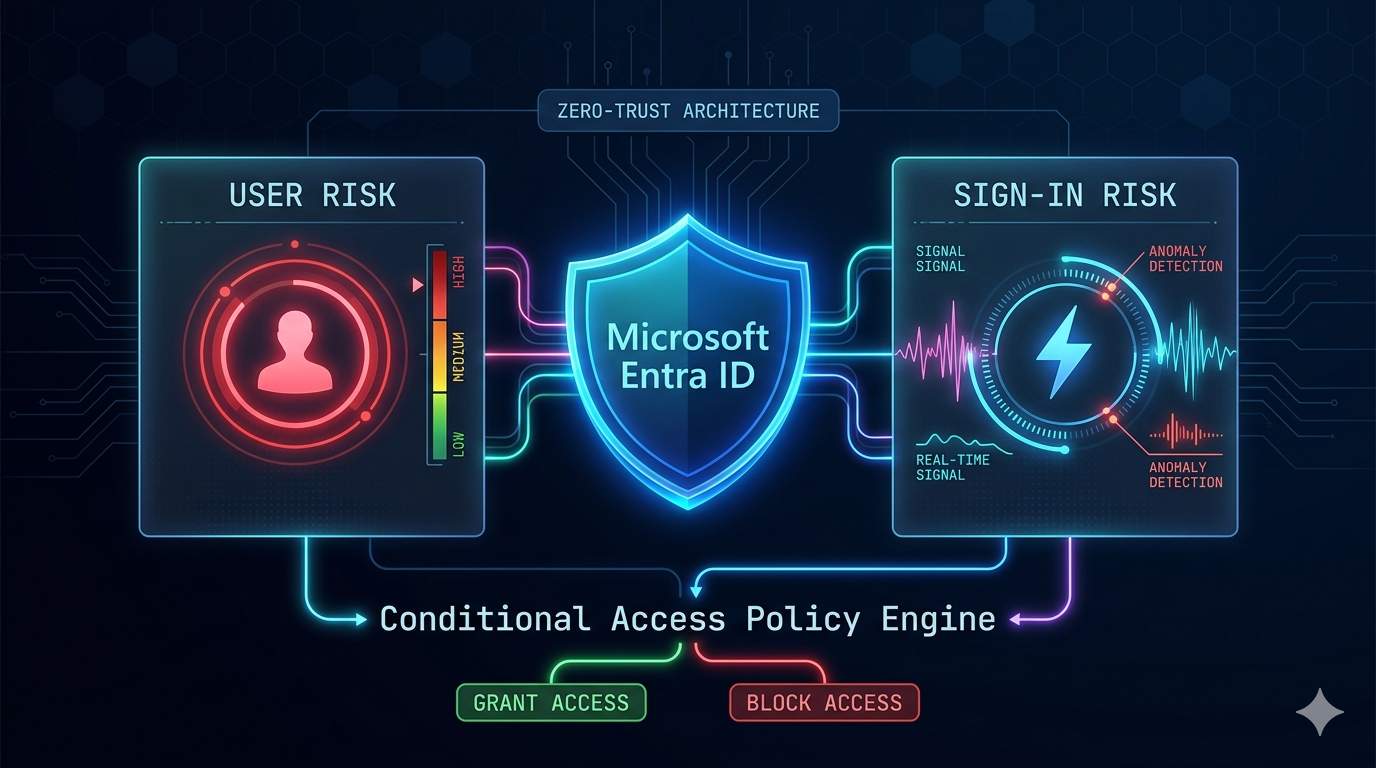
Microsoft Entra Privileged Identity Management (PIM) is an identity and access management solution that is part of the Microsoft Entra security suite. It enables organizations to manage, control and monitor access to critical resources within their IT environment. By offering advanced functionality for managing roles and privileges, PIM helps minimize the risks associated with excessive, inappropriate or unmonitored access.

II – Benefits of PIM :

  • Improved security : PIM helps prevent unauthorized access to sensitive resources, reducing the risk of data breaches and cyber attacks.
  • Compliance : PIM ensures that organizations comply with regulatory requirements and industry standards for privileged identity management.
  • Increased efficiency : PIM streamlines the management of privileged identities, reducing the administrative burden on IT teams.

In summary, Privileged Identity Management (PIM) is a critical security approach that helps organizations manage and monitor the access privileges of users with elevated permissions, ensuring the security and integrity of sensitive resources.

III – Microsoft PIM key features :

Microsoft Entra PIM enables administrators to manage privileged access more securely and efficiently.

Here are some of its key features :

  • Just-In-Time (JIT) activation : Users can request temporary activation of privileged roles, reducing the time during which elevated privileges are active.
  • Approval-based provisioning : Access requests can require approval before being granted, adding an extra layer of security.
  • Alerts and notifications : PIM sends alerts and notifications for suspicious activity or configuration changes, enabling rapid response to potential incidents.
  • Audit and reporting : Privileged users’ activities are logged and can be reviewed for security and compliance audits.
  • Periodic access review : Privileged accesses are regularly reviewed to ensure they are still necessary and appropriate.

IV – Requirements :

  • Entra ID P2 licence.
  • Global Admin Role to configure PIM.

V – Mindmap to configure Microsoft Entra PIM :

VI – Start Configuring Microsoft Entra PIM :

1 – Assigning Roles :

The assignment process starts by assigning roles to members. To grant access to a resource, the administrator assigns roles to users, groups, service principals, or managed identities.

So let’s move to assign Exchange Online Administrator role to specific user.

To do this :

  1. Go the Entra ID admin center : https://entra.microsoft.com/
  2. Select “Identity Governance” from the left menu bar
  3. Select “Privileged Identity Management
  4. Select “Roles
  5. Type “Exchange” in search bar
  6. Select “Exchange Administrator
  • Select “+Add Assignment
  • Select member(s) to be assigned to this role.
  • Click “Next

The assignment settings includes the following data:

  • The type of the assignment :

-Eligible : assignments require the member of the role to perform an action to use the role. Actions might include activation, or requesting approval from designated approvers.

-Active : assignments don’t require the member to perform any action to use the role. Members assigned as active have the privileges assigned to the role.

  • The duration of the assignment, using start and end dates : For eligible assignments, the members can activate or requesting approval during the start and end dates. For active assignments, the members can use the assign role during this period of time.
  • Permanently eligible : if this option is checked, the duration of the assignment will be disabled.

In my case, I chose the eligible assignment for a one-month period as the following picture :

  • Here is user assignment eligibility added, but keep in mind role is not approved yet.

After Assignment, user will receive new email about his new Exchange Admin role eligibility.

Now let’s move to see how to enable this role.

2 – Just in Time Access (Self Service Activation role) :

In this section, w’ll see how users can activate assigned roles for specific time duration without approuval request (w’ll see in the next section how to add approuval settings).

So, let’s start configuration :

In my role section you w’ll be able to see your role and you w’ll be able to activate it.

  • Select “Activate
  1. Select Activation duration (maximum 8 Hours)
  2. Add reason for your Activation Role.
  3. Click “Activate

New windows will appear with three Stage execution.

As you can see here, activation seccessfully.

After role activation, user will receive

Let’s check if user will have access to exchange onlive portal.

As you can see here, Aymen user have access now to Exchange online as Exchange Administrator.

Now we are done with JIT Access, what should we do if we want that every access request must be approved ?

lets move to next section to see.

3 – How to Add approuval for role assignments request :

We will continue with the same role Assignment (Exchange Administrator to change settings).

and w’ll make some changes in the test senario :

  • User1 : will request for Exchange Online
  • Aymen : will Approve requests

So, you can come back to the Exchange Administrator role :

  1. Go the Entra ID admin center : https://entra.microsoft.com/
  2. Select “Identity Governance” from the left menu bar
  3. Select “Privileged Identity Management
  4. Select “Roles
  5. Type “Exchange” in search bar
  6. Select “Exchange Administrator
  1. Go to “Role settings” from the left menu bar
  2. Click “Edit” to start configuring approuval for role assignments request

In Activation section you can Adjust :

  1. Activation maximum duration (24 Hour is the maximum number of Hours)
  2. Require MFA when activation role
  3. Request Approval to Activate (I Have selected Global Admin user to Approve Activation requests)
  4. Clic “Next

In Assignment section you can specify if you want to enable or disable both Permanent Eligible Assignment and Expire Active Assignment, you can also require justification.

  • In my case I’ll leave those settings as default.
  • Click “Next

In notification section, you can choose who can receive email notification.

I have added helpdesk email to automatically open ticket in system ticket. (You can adjust this section as your organisation needs)

let’s test approval request now.

4 – Test Request Approuval Activation role :

  • Select time duration
  • Addd reason
  • Click Activate

As you can see here, the approver has received notification email, with user name, role, duration and reason.

  • So to approve user1 request, we should clic on “Approve or deny request
  1. Select approval request.
  2. Select “Approve
  3. Add reason
  4. Click “Confirm

Let’s try to access Exchange online from User1 account.

User1 have succefully access to exchange online consol with admin role .

Let’s move to auditing section and see how we can get all history of Privileges using.

VII – Auditing PIM :

Microsoft Entra’s Privileged Identity Management (PIM) audit functionality is essential for ensuring the security and compliance of privileged access within an organization. Here’s an overview of this functionality :

  • Activity logging : PIM records all activities related to privileged access, including role activation requests, approvals, configuration modifications, and actions performed by users with elevated privileges. These records make it possible to track who did what, when and why, offering complete traceability of actions.
  • Reports and analyses : Audit data can be used to generate detailed reports on the activities of privileged users. These reports can be customized to meet the specific needs of the organization and can include information such as activated roles, activation durations, and specific actions performed during activation periods.
  • Alerts and Notifications : PIM can send real-time alerts and notifications for suspicious activity or important configuration changes. For example, if a user attempts to activate a role without prior approval, or if unauthorized changes are made to critical settings, alerts can be triggered to enable a rapid response.

To access PIM auditing window :

VIII – Conclusion :

In short, Microsoft Entra PIM is an essential tool for organizations seeking to strengthen their security by proactively and effectively managing privileged access. By offering features such as JIT activation, approvals, alerts and audits, PIM helps reduce security risks while ensuring rigorous identity and access management. Adopting Microsoft Entra PIM can significantly improve an organization’s security posture by ensuring that only authorized users have access to critical resources, and only when necessary.

Thanks

Aymen EL JAZIRI (Microsoft MVP)

Hi, I’m Aymen El Jaziri , a passionate System Administrator and Microsoft MVP, with years of hands-on experience in managing and securing modern IT infrastructures.
This blog is where I share technical guides, automation scripts, product reviews, and real-world solutions that help IT professionals simplify their day-to-day work and stay ahead in a fast-evolving cloud ecosystem.
Whether you’re here to troubleshoot an issue, improve your automation game, or learn new best practices , welcome in my blog !
Let’s build a stronger, smarter IT community together.
Feel free to connect with me on LinkedIn for more content, discussions, or collaboration opportunities.

Thanks

Aymen

Articles: 154