Physical Address
304 North Cardinal St.
Dorchester Center, MA 02124
Physical Address
304 North Cardinal St.
Dorchester Center, MA 02124

Explore practical guides and tools for Microsoft 365, Azure, and PowerShell. Enhance your cloud security and admin skills with expert insights and automation tips.
Explore practical guides and tools for Microsoft 365, Azure, and PowerShell. Enhance your cloud security and admin skills with expert insights and automation tips.
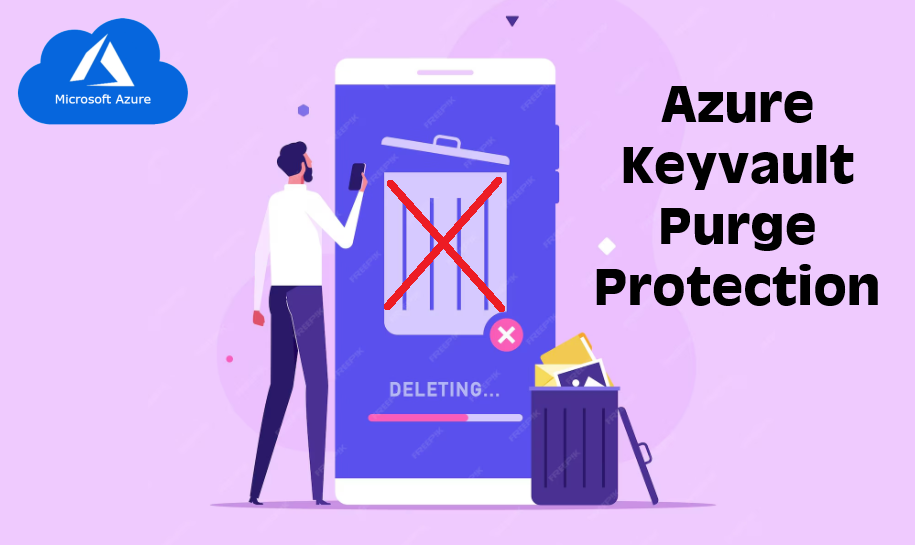

In the cloud era, protecting cryptographic keys and secrets is not just a best practice it’s a critical requirement. Azure Key Vault is one of the most trusted tools for securely storing and managing sensitive information such as keys, passwords, and certificates.
But here’s a crucial feature that’s often overlooked or misunderstood: Purge Protection.
Let’s break down why enabling Purge Protection should be a non-negotiable part of your security strategy.
Purge Protection is a security feature in Azure Key Vault that prevents permanent deletion of a soft-deleted key vault or its contents such as secrets, keys, and certificates before the retention period ends.
When Purge Protection is enabled:
Without Purge Protection, a compromised account or accidental misconfiguration could permanently delete a Key Vault, including:
And once it’s purged, it’s gone forever. No support ticket can restore it.
Now imagine this in production. Services go offline, users can’t authenticate, encrypted data becomes unreadable. The business impact? Catastrophic.
Azure Key Vault includes Soft Delete by default, which lets you recover deleted items. But Soft Delete alone is not enough. Why?
Because anyone with the right access can still purge a deleted vault or secret unless Purge Protection is enabled.
The combination of Soft Delete + Purge Protection is what gives you the ability to :
Purge Protection can only be enabled after Soft Delete is turned on, and it cannot be disabled later. This is by design.
2 ways to enable Purge Protection :
Go to Azure : portal.azure.com

az keyvault update --name <vault-name> --enable-purge-protection trueMake it part of your provisioning scripts and security baselines.
Thanks