Physical Address
304 North Cardinal St.
Dorchester Center, MA 02124
Physical Address
304 North Cardinal St.
Dorchester Center, MA 02124

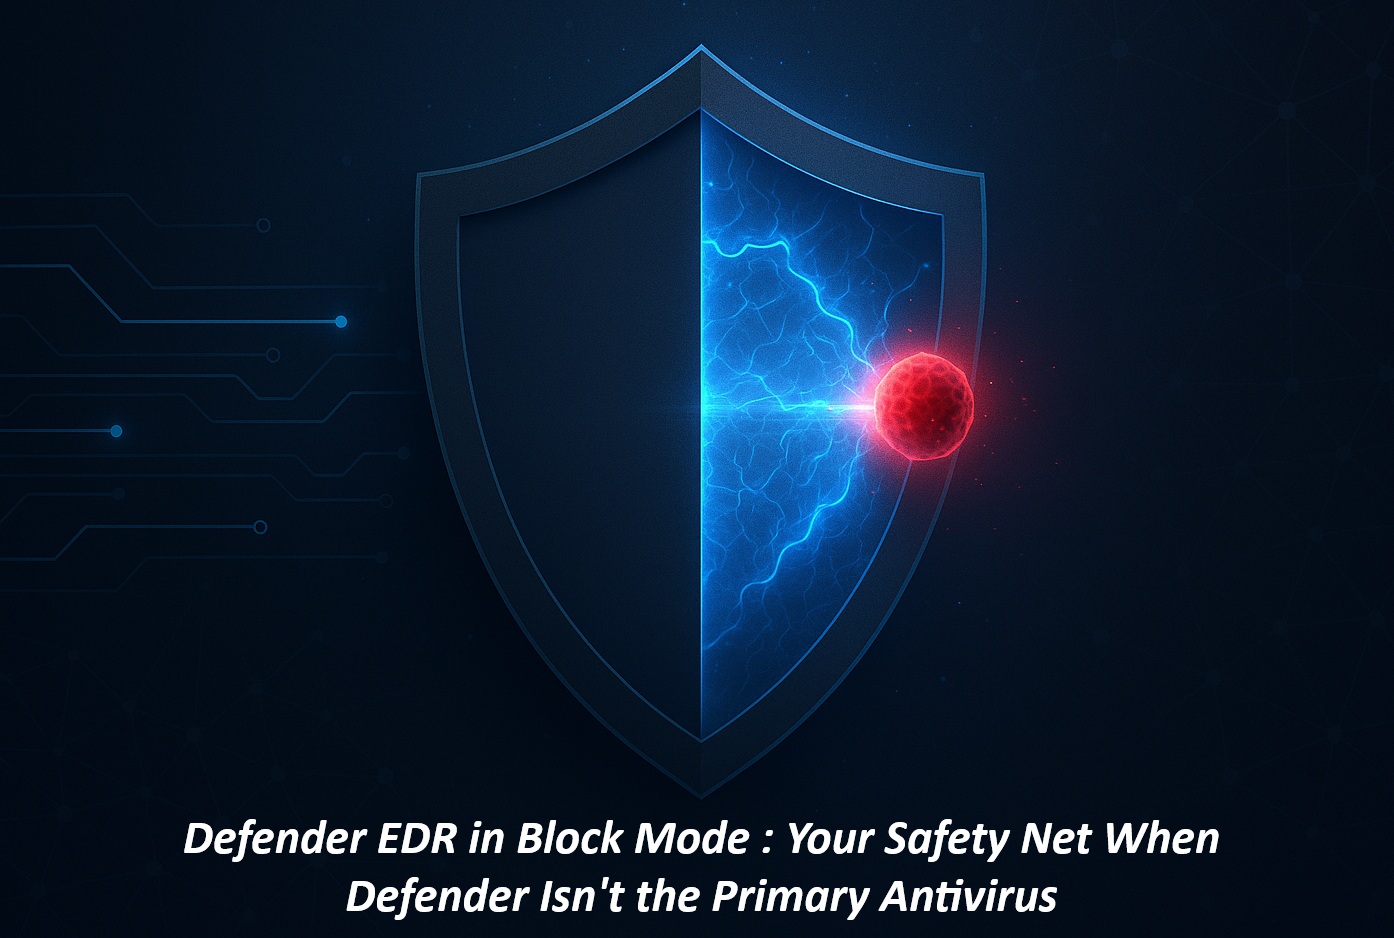
Explore practical guides and tools for Microsoft 365, Azure, and PowerShell. Enhance your cloud security and admin skills with expert insights and automation tips.
Explore practical guides and tools for Microsoft 365, Azure, and PowerShell. Enhance your cloud security and admin skills with expert insights and automation tips.
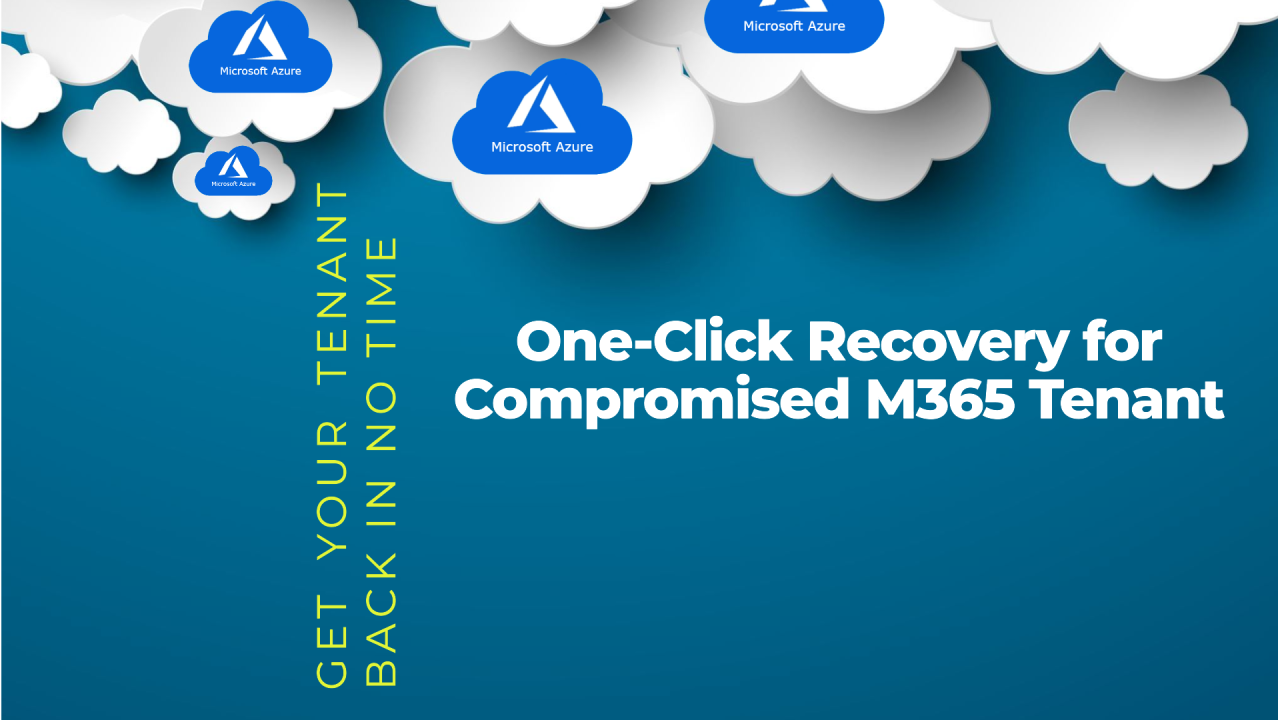

If a hacker manages to compromise a global admin account, the first thing he’ll do is block sign-in for all the other global admins, including the break glass account. This will make it almost impossible to recover the tenant (you’ll have to go through Microsoft, and that will take a lot of time).
In this article, we’ll look at how to recover the M365 tenant by creating a break glass account after the tenant has been compromised. we’ll discuss how to use Azure automation and PowerShell for easy one-click recovery of your tenant in case it’s compromised.
The idea is to create an Azure Automation Account, then create a Runbook with a PowerShell script to create a Global Administrator account, then generate a Webhook with a unique WEB link. Once the tenant has been compromised, simply send HTTP request through PowerShell command that will Create the Break Glass Account on the spot and allow you to retrieve your tenant instantly.
I’ve already explained in my previous article (👉 (1) Microsoft Azure automation — Runbooks & Webhooks : A Technical Guide | LinkedIn) how to do the daily housekeeping of the resources deployed in your Azure test tenant to avoid oversights and unpleasant billing surprises, and I’m going to continue in azure automation today with Runbooks and Webhooks to show you how to recover a compromised tenant in a single click.
At the end of this article, you will get one HTTPS link with Global Admin Login/Password , you should store them securely to be able to use them in case your tenant is compromised. (In my case, I’m thinking about using USB flash drive or external Password Keeper)
A “Break Glass” account (or emergency account) in Azure is an administrative account with elevated privileges, designed to be used only in an emergency or when all other means of access have failed, particularly due to a large-scale account compromise.
Why is it essential ?
What’s make this article special, the Break Glass Account will be created remotely after tenant is compromised.
Azure Automation is a cloud-based automation service that enables developers and system administrators to manage configuration and automation tasks in Azure and in external environments. It offers a variety of features, including update management, configuration management, change tracking and inventory, as well as process automation.
Runbooks are PowerShell scripts, Python or graphical workflows that can be run to automate tasks. They can be triggered in a variety of ways, including by :
Runbooks can be used to automate a wide range of tasks, such as :
Runbooks types :
Webhooks are a way of triggering a Runbook from an external event. For example, you can use a webhook to trigger a runbook when a new e-mail arrives in a specific inbox, or when a ticket is created in an incident tracking system.
Webhooks are created using a unique URL that can be called up from any system or application. When the URL is called, the associated Runbook is triggered and the call data is transmitted to the Runbook.
The use of Runbooks and Webhooks offers a number of advantages :
Azure Automation is billed according to two main components :
Here is an example for process automation :


After creating Automation account we should Assign it with the right permissions to be able to be executed, because every script need level of rights as you know.
The easy way is to assign Global Admin Role, but to avoid that Automation Account appear with global admin Account list and to be blocked by the hacker with the ather Global Admin Accounts, we will divide Global Admin Role in two sub roles :
To do this this :


After Creating Automation Account, we will proceed to Runbook creation, for this :


The following script will create new Global Admin User on request.
Paste the following PowerShell Script (You need to change userUPN, userDisplayName and Password values in the script , with (first section #To be changed as comment))
The following script is tested and working properly, you only need to change your Global Admin login password.
# ------------------------------------- To be Changed ----------------------------
# Define variables
$userUPN = "BreakGlass@globalitnow.onmicrosoft.com"
$userDisplayName = "BG Global Admin"
$password = "P@ssw0rd123!"
#------------------------------------------------------------------------------------

try {
    # Logging in to Azure ...
    Connect-AzAccount -Identity
}
catch {
    Write-Error -Message $_.Exception
    throw $_.Exception
}

# Import necessary modules
Import-Module Az.Accounts
Import-Module Az.Resources

# Get Azure AD token
$context = [Microsoft.Azure.Commands.Common.Authentication.Abstractions.AzureRmProfileProvider]::Instance.Profile.DefaultContext
$token = [Microsoft.Azure.Commands.Common.Authentication.AzureSession]::Instance.AuthenticationFactory.Authenticate($context.Account, $context.Environment, $context.Tenant.Id.ToString(), $null, [Microsoft.Azure.Commands.Common.Authentication.ShowDialog]::Never, $null, "https://graph.microsoft.com").AccessToken

# Create the new user
$uri = "https://graph.microsoft.com/v1.0/users"
$body = @{
    accountEnabled = $true
    displayName = $userDisplayName
    mailNickname = ($userUPN -split '@')[0]
    userPrincipalName = $userUPN
    passwordProfile = @{
        password = $password
        forceChangePasswordNextSignIn = $true
    }
} | ConvertTo-Json

$newUser = Invoke-RestMethod -Uri $uri -Headers @{Authorization = "Bearer $token"} -Method Post -Body $body -ContentType "application/json"

# Get Global Administrator role
$uri = "https://graph.microsoft.com/v1.0/directoryRoles"
$roles = Invoke-RestMethod -Uri $uri -Headers @{Authorization = "Bearer $token"} -Method Get
$globalAdminRole = $roles.value | Where-Object { $_.displayName -eq 'Global Administrator' }

# Assign Global Administrator role to the new user
$uri = "https://graph.microsoft.com/v1.0/directoryRoles/$($globalAdminRole.id)/members/`$ref"
$body = @{
    "@odata.id" = "https://graph.microsoft.com/v1.0/directoryObjects/$($newUser.id)"
} | ConvertTo-Json

Invoke-RestMethod -Uri $uri -Headers @{Authorization = "Bearer $token"} -Method Post -Body $body -ContentType "application/json"

Write-Output "New Global Administrator user created successfully: $userUPN"
After pasting the script and making essantial changes (login/password), we need to :


After Runbook is created, we will generate https web link to be used in the future to create remotely Global Admin account, as I said no need for authentication with this web link.
A webhook allows an external service to start a particular runbook in Azure Automation through a single HTTP request. External services include Azure DevOps Services, GitHub, Azure Monitor logs, and custom applications. Such a service can use a webhook to start a runbook without implementing the full Azure Automation API.
Here are some important properties of a webhook in Azure Automation:
A webhook can be used to pass parameters that will be used for Runbook execution (for more details).

keep in mind client requirements for TLS 1.2 or higher with webhooks.


here is the link I have copied from webhook (it’s a fake link 😂).
Copy paste this Powershell script in your PC (Dont forget to replace the fake link) and execute it :
$webhookURI = "https://2c848b7a-f51f-4113-8aa2-37e8b4fa3716.webhook.eus.azure-automation.net/webhooks?token=vPFDWuRtvzBssdfsxSX13aUPxVr14s5sdEeCSUYXoSVE"

$response = Invoke-WebRequest -Method Post -Uri $webhookURI

$response
here is execution results, we can see StatusCode equal 202 that’s mean script Accepted and execution is started on Microsoft Azure.

Here is script Execution result, as you can see here new Global Admin user created as expected.


Keep in Mind script execution in cloud can take more time than local scripts, so you need to wait couple of minutes to be able to connect with new global admin account.


In conclusion, automation in Microsoft Azure, in particular the use of Runbooks and Webhooks, offers a wealth of possibilities for improving efficiency and productivity. This guide aims to provide you with the knowledge and skills you need to make the most of these tools. By following the instructions and tips provided in this guide, you’ll be able to transform the way you work with Azure.