Explore practical guides and tools for Microsoft 365, Azure, and PowerShell. Enhance your cloud security and admin skills with expert insights and automation tips.
Explore practical guides and tools for Microsoft 365, Azure, and PowerShell. Enhance your cloud security and admin skills with expert insights and automation tips.
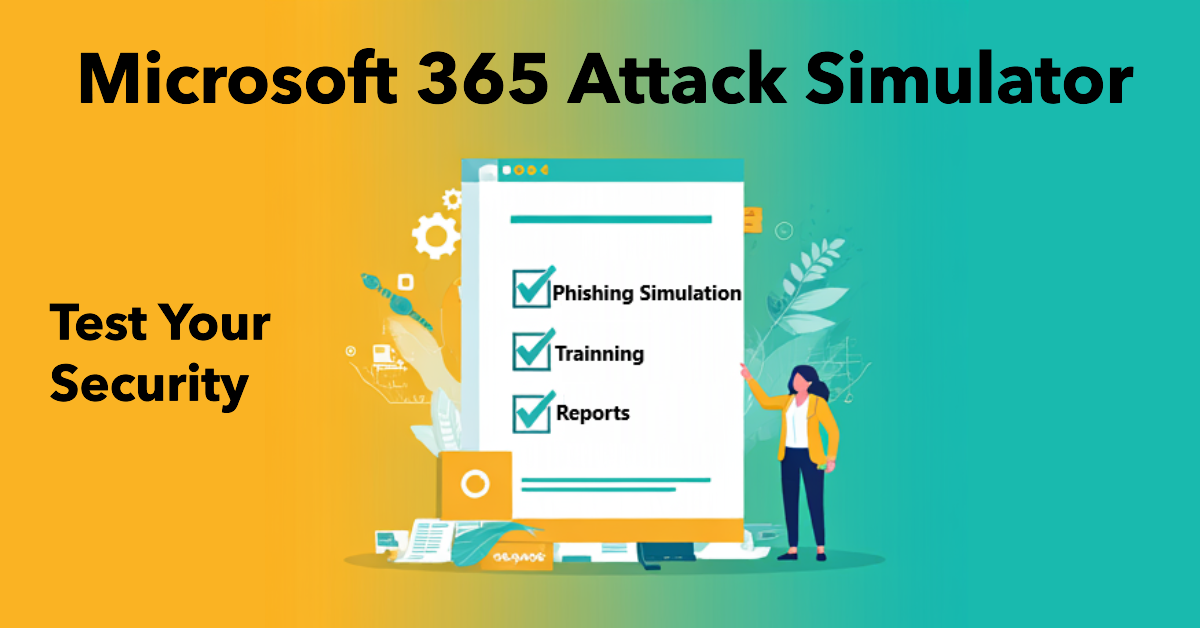
Microsoft 365 Attack Simulator : Test Your Security
The Microsoft 365 Attack Simulator is a feature within Microsoft Defender for Office 365 that allows organizations to run realistic attack simulations to test and improve their security posture.
Here are some key aspects:
Phishing Simulations : It enables the creation of phishing attack simulations to assess how users respond to phishing attempts. This helps in identifying vulnerable users and providing targeted training
Training and Awareness : The simulator includes training modules that educate users on recognizing and responding to phishing attacks. This training is tailored based on user behavior during simulations
Realistic Scenarios : The simulations use real-world phishing techniques and payloads to create a realistic experience. This includes credential harvesting, malware attachments, and links within attachments
Reporting and Insights : It provides detailed reports and analytics on user performance during simulations, helping organizations understand their risk levels and track improvements over time
Integration with Microsoft Defender : The simulator is part of the broader Microsoft Defender suite, integrating seamlessly with other security tools to provide a comprehensive security strategy.
This tool is particularly useful for organizations looking to enhance their cybersecurity defenses by proactively identifying and mitigating social engineering risks.
2 – Prerequisites :
To use Microsoft 365 Attack Simulator, you need to meet certain prerequisites:
License : You must have Microsoft Defender for Office 365 Plan 2 standalone license, or included with any other licence such as a Microsoft 365 E5 or Office 365 E5.
Authorizations : You must have the necessary authorizations, such as Security Administrator or Attack Simulation Administrator , or Global Administrator.
3 – Create new M365 Attack simulation :
Creating an attack simulation using Microsoft 365 Attack Simulator is crucial to strengthening your organization’s security. These simulations help identify potential vulnerabilities by exposing users to realistic attack scenarios, such as phishing. This helps to raise awareness and train employees, improving their ability to recognize and react appropriately to real threats.
Select “Attack technic” that you want to use then clic next. (In my case I’ll use Credential Harvest Technic)
Give a name to your simulation
Select Phishing payload (here i’m using Docusign Phishing page)
Here is the preview of selected payload (Docusign Phishing page)
Select Users/Groups that will receive this attack simulation (All users in my case)
No users to exclude in my case.
this window allows you to automatically assign training courses to users who have failed the phishing test, you can manually select the list of training courses to be given according to the subjects selected. in my case i have chosen to have these training courses automatically selected by Microsoft, this will allow me to have an up-to-date list of training courses each time Microsoft adds new training courses.
I’ve also decided that users who have failed the test should start training as soon as possible (in 7 days).
in this section we’ll choose the page to be displayed after users fail the test, just to inform them that it was a failed phishing test and that they need to undergo training.
Here is a preview of Phish landing page (You can specify language if you want).
Click “Close” the “Next“.
In the notification section you can choose whether or not to notify users, and how notifications are sent, for example :
send an encouragement notification for reporting a phishing email during or after the simulation.
Send training reminder e-mails to users who have failed the phishing test, and specify frquency (weekly, monthly…etc).
keep in mind that the minimum duration of Phishing simulation is 2 days.
Select Launch details then select “Next“
Click Submit.
4 – check user-received emails and clicks :
in this section, and for educational purposes, I’m going to check the phishing email I received and click on it to see the list of emails I’ll receive and the training to complete after the failed test.
Here is the phishing email, let’s open email joined file and see what’s happen :
the word file is empty as you can see
I have received new email for assigned training by security Team
here is main Training page :
Here is the first video of training :
5 – Check Simulation Attack Reports :
Microsoft 365 Attack Simulator’s attack simulation reports provide detailed insights into how users react to attack simulations. These reports include maps of recent simulations, recommendations for future simulations, and simulation coverage analyses, showing the percentage of users who have received a simulation. They also offer information on training completion, classifying users according to whether they have completed, are in the process of completing, or have not completed training. In addition, the reports identify repeat offenders, i.e. users compromised by consecutive simulations, and analyze the behavioral impact on the compromise rate, comparing user responses to simulations with historical Microsoft 365 data. These insights are essential for improving user preparedness in the face of security threats.
In report section, you’ll be able to see reports about compromised users, and users reported also.
if you click on “Compromised users” link you’ll be able to see them in “Users” section.
In users section you can see many details about :
Compromised Users : Users that have click on link or open malicious document
Reported Users : Users that have reported Email as malicious
Training Status : Training status for Users that have click on link or open malicious document
Date/Time for click…etc
In “Details” section, we can see details about payload page, training page, targeted users…etc
below in details page we can see also training videos and different type of notification sent by M365 Attack simulator.
6 – Automate Simulation Attacks :
Attack simulation in Microsoft Defender for Office 365, enable organizations to simulate real-world attack scenarios, such as phishing attacks, password-spraying attacks and brute-force attacks. These simulations help assess employee awareness and response to these threats, as well as testing the effectiveness of security controls in place.
By automating these simulations, companies can run multiple social engineering techniques and payloads on an automated schedule, enabling a continuous and proactive assessment of their security posture. This helps identify vulnerabilities and train employees to reduce their susceptibility to cyber-attacks.
Simulation automations are automated flows with specific techniques and payloads that run when the specified conditions are met and launch simulations.
So, let’s get started :
From Attack simulation training window :
Go to “Automations“
Select “Simulation Automation“
Click “Create AUtomation“
Give a name to Automated simulation attack, the click “Next“
in this window I’m going to select all types of attack, since we’re talking about automated simulation, so we’re trying to mix attack types.
Click “Next“
same thing for this window, I’m going to randomize the payloads to avoid users getting used to a known payload type, the randomize option is also recommended as it always works with Microsoft updates and new payloads.
The “Configure OAuth Payload” window in the Microsoft 365 attack simulation is used to configure the details of a simulated malicious OAuth application. Here’s what the three fields are for:
App name : This field is used to give a name to the simulated OAuth application. This name will appear in the consent requests users receive, which may influence their decision whether or not to grant the requested permissions.
App logo : Here you can add a logo for the application. A credible logo can make the simulated application more convincing and increase the chances of users granting permissions.
Select App scope : This field lets you define the specific permissions required by the application. Scopes determine the types of data and actions to which the application will have access if the user grants permissions.
These configurations are crucial to make the simulation realistic and to test users’ vigilance in the face of OAuth consent requests, which are often used in phishing attacks to access sensitive data.
I’ll include all users as target in my case (You can select group of users if you want)
this window allows you to automatically assign training courses to users who have failed the phishing test, you can manually select the list of training courses to be given according to the subjects selected. in my case i have chosen to have these training courses automatically selected by Microsoft, this will allow me to have an up-to-date list of training courses each time Microsoft adds new training courses.
I’ve also decided that users who have failed the test should start training as soon as possible (in 7 days).
Select the page to be displayed after users fail the test, just to inform them that it was a failed phishing test and that they need to undergo training.
Click “Next“.
In the notification section you can choose whether or not to notify users, and how notifications are sent, for example :
send an encouragement notification for reporting a phishing email during or after the simulation.
Send training reminder e-mails to users who have failed the phishing test, and specify frquency (weekly, monthly…etc).
You can specify schedule for simulation attack, but to prevent users from getting used to the phishing date, and that it becomes irrelevant, I’ll randomize simulation schedule.
Select Schedule details (Start day, end day, Week days…etc) then click “Next“.
In this windows, you can specify :
Use unique payloads across simulations within an automation : This option allows unique payloads to be used for each simulation within the same automation. If enabled, each simulation run will use a different payload to vary the attacks, preventing users from becoming too familiar with the same attack model.
Target all selected users in every simulation run : This option targets all selected users in every simulation run.
Target repeat offenders : By activating this option, the simulation targets users who have already failed previous tests (so-called “repeat offenders”). This focuses awareness-raising efforts on users who tend to be vulnerable, and reinforces their vigilance in the face of attacks.
Send simulation messages based upon the user’s current time zone setting from Outlook Web Access : If this option is activated, simulation messages are sent according to the user’s current time zone, as defined in Outlook Web Access. This ensures that messages are received during the user’s working hours, maximizing simulation impact and user engagement.
Click “Submit“
7 – Conclusion :
In conclusion, Microsoft 365 Attack Simulator is a powerful tool for strengthening your organization’s security by simulating realistic attacks. It enables you to assess your users’ preparedness for security threats, identify weak points and provide targeted training to improve resilience. With detailed reports and behavioral analysis, you can monitor progress and adapt your security strategies accordingly. By using this tool, you help to create a safer working environment that is better prepared for cyberthreats.
Thanks
Aymen EL JAZIRI (Microsoft MVP)
Hi, I’m Aymen El Jaziri , a passionate System Administrator and Microsoft MVP, with years of hands-on experience in managing and securing modern IT infrastructures.
This blog is where I share technical guides, automation scripts, product reviews, and real-world solutions that help IT professionals simplify their day-to-day work and stay ahead in a fast-evolving cloud ecosystem.
Whether you’re here to troubleshoot an issue, improve your automation game, or learn new best practices , welcome in my blog !
Let’s build a stronger, smarter IT community together.
Feel free to connect with me on LinkedIn for more content, discussions, or collaboration opportunities.